
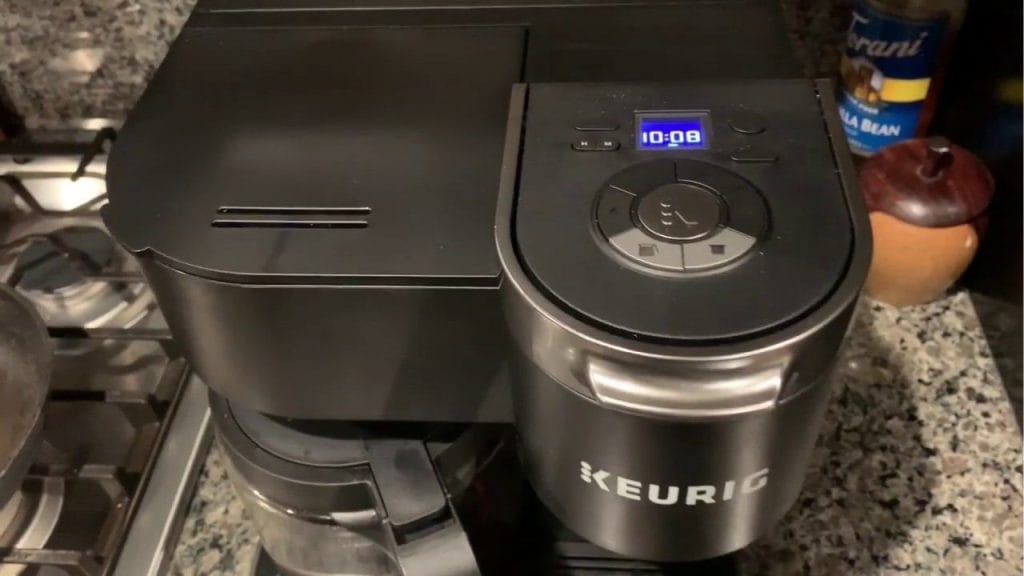
Did you know that many Keurig coffee maker owners never set the clock correctly, even though it helps with timed brewing and a smoother morning routine? If you are wondering how to set clock on Keurig coffee maker, this quick setup guide will walk you through the process in a simple, easy-to-follow way. Whether you have a basic model or a Keurig with programmable features, setting the time correctly can make your coffee maker more convenient and efficient to use.
Why Setting the Clock on Your Keurig Matters
The clock on your Keurig coffee maker is more than just a display feature. On models with auto brew or programmable settings, the correct time helps you schedule coffee to start before you wake up. It also makes it easier to use timed functions, especially if your machine has a digital screen with multiple settings.
If the clock is wrong, your programmed brew time may not work as expected. That is why learning how to set clock on Keurig coffee maker is an important first step after plugging in your machine or after a power outage.
How to Set Clock on Keurig Coffee Maker
The exact steps may vary slightly depending on your Keurig model, but the process is usually very similar across most programmable units.
Step 1: Turn on the Coffee Maker
Make sure your Keurig is plugged in and powered on. The display screen should light up. If your machine was recently unplugged, you may need to reset the time from the beginning.
Step 2: Locate the Clock or Menu Button
Look for a button labeled Clock, Menu, or Settings. On some models, you may need to press the “Settings” button first to access the time adjustment mode. If your Keurig has touchscreen controls, the clock setting may appear in the main menu.
Step 3: Enter Time Setting Mode
Press and hold the clock or settings button until the hour digits begin blinking. This means the machine is ready for you to set the current time. If the display does not blink right away, try pressing the button once and then holding it for a few seconds.
Step 4: Adjust the Hour
Use the arrow buttons, plus and minus buttons, or the brew control dial to select the correct hour. Be sure to pay attention to AM and PM if your model uses a 12-hour format.
Step 5: Set the Minutes
Press the clock or select button again to move to the minutes. Use the same adjustment buttons to choose the correct minute.
Step 6: Save the Setting
Once the time is correct, press the clock, select, or menu button again to confirm. The display should stop blinking and show the updated time.
What If Your Keurig Does Not Have a Clock?
Not all Keurig coffee makers include a built-in clock. Many single-serve basic models are designed for manual use and do not support time settings. If you cannot find any clock option on your machine, check the user manual or look up your exact model online. Your Keurig may simply not have a clock feature.
Troubleshooting Clock Problems
The Clock Keeps Resetting
If your Keurig clock keeps changing after a power outage, the machine may have lost power completely. Unplug it for a minute, plug it back in, and reset the time.
The Buttons Do Not Respond
If the buttons are unresponsive, try cleaning the control panel and making sure the machine is fully powered. In some cases, a temporary glitch can be fixed by unplugging the unit for 30 seconds.
The Display Is Hard to Read
If the screen is dim or fading, check the power connection and make sure the machine is properly seated on a stable outlet.
Final Tips
Learning how to set clock on Keurig coffee maker is usually a fast task that takes less than a minute. Once the time is set, you can enjoy better control over your coffee routine and get the most from any programmable features your machine offers. If you are unsure about your model, your Keurig user manual is the best reference for exact button instructions.


