
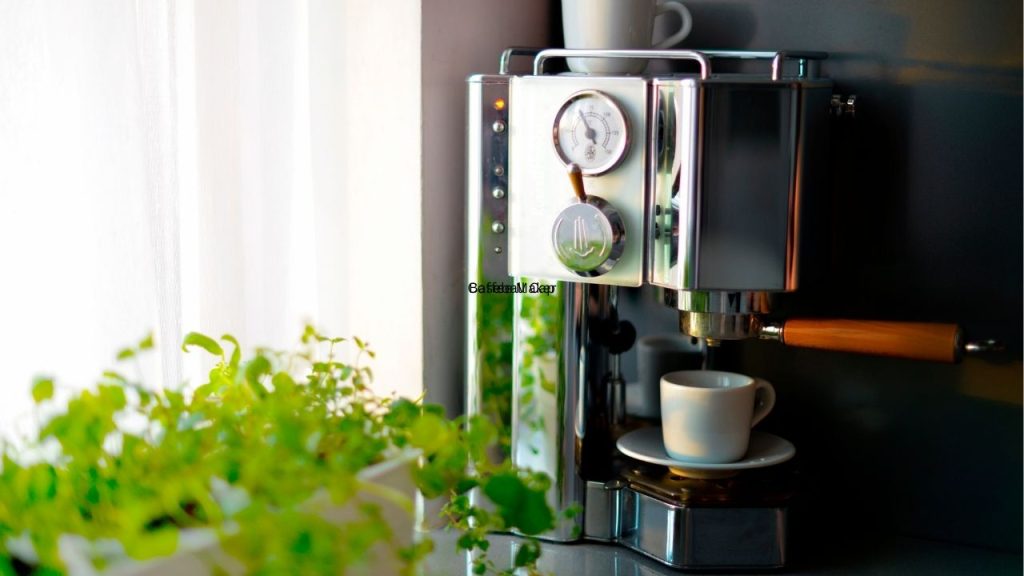
Have you ever noticed that your morning coffee tastes a little off, even when you use the same beans and the same brew settings? If so, your coffee maker may need a deep clean. Learning how to wash a coffee maker the right way helps remove mineral buildup, coffee oils, and lingering residue that can affect flavor and performance. Before you start, it is important to know which parts can be washed, which cleaners are safe, and how often your machine should be cleaned for the best results.
Why Cleaning a Coffee Maker Matters
Over time, coffee makers collect hard water deposits, oils from ground coffee, and moisture that can lead to buildup inside the machine. This can cause slower brewing, weak-tasting coffee, and even clogging in some models. Regular cleaning also helps your coffee maker last longer and keeps every cup tasting fresh.
If you use your machine daily, a quick rinse is not enough. A proper cleaning routine is one of the easiest ways to protect your investment and improve your coffee quality.
What to Know Before You Wash a Coffee Maker
Check the Manufacturer’s Instructions
Before learning how to wash a coffee maker, always review the owner’s manual. Some coffee makers have removable parts that are dishwasher safe, while others need to be washed by hand. Certain models, especially pod machines, single-serve brewers, and espresso machines, may have special cleaning requirements.
Unplug the Machine First
For safety, always unplug the coffee maker before cleaning. Let it cool down completely if it was recently used. Never submerge the base or electrical components in water.
Know Which Parts Can Be Washed
Most coffee makers have parts like the carafe, filter basket, lid, and reusable filter that can usually be washed separately. The outside of the machine can be wiped with a damp cloth. The water reservoir may also need regular cleaning, but make sure it is safe for your specific model before using soap or vinegar inside it.
Avoid Harsh Chemicals
When washing a coffee maker, stick to mild dish soap, warm water, and approved descaling solutions. Avoid bleach and abrasive scrubbers, since they can damage plastic, glass, and internal components. If you plan to descale with vinegar, confirm that your brand allows it, because some machines recommend a manufacturer-approved cleaner instead.
How to Wash a Coffee Maker the Right Way
Clean the Removable Parts
Take out the carafe, filter basket, and any removable lid pieces. Wash them with warm, soapy water and a soft sponge. Rinse well to remove all soap residue, then let them air dry.
Wipe Down the Exterior
Use a damp microfiber cloth to clean the outside of the coffee maker. Pay attention to buttons, seams, and the warming plate. Do not use too much water, and keep liquid away from the power cord and plug.
Descale the Interior
If your coffee tastes bitter or your machine is brewing slowly, it may be time to descale. Fill the reservoir with a mixture of equal parts white vinegar and water, or use a descaling solution if recommended by the manufacturer. Run a brew cycle halfway, pause for 15 to 30 minutes, then finish the cycle. After that, run two to three cycles with fresh water to remove any lingering vinegar smell.
How Often Should You Clean It?
For the best results, wash removable parts after every use or at least once a day if you brew often. Deep clean the coffee maker every month, or more often if you have hard water. Regular care makes a big difference in taste and helps your machine operate efficiently.
Final Tip Before You Start
If you want to know how to wash a coffee maker safely, the most important step is to check your model’s instructions first. Once you know what can be washed and what should be avoided, the cleaning process becomes simple. A clean coffee maker means better flavor, fewer problems, and a better cup every morning.

