
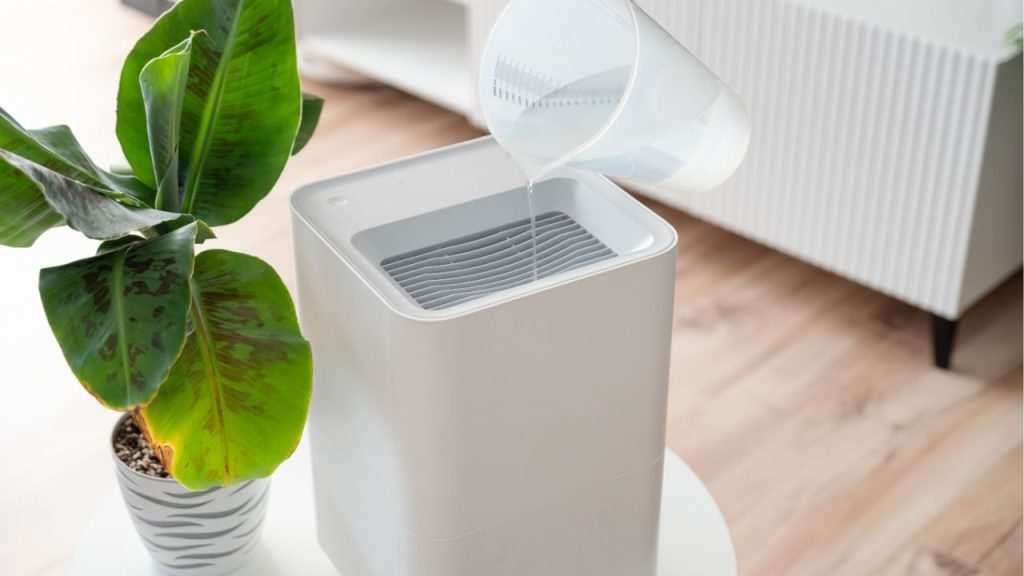
Did you know that a dirty humidifier can circulate mold, bacteria, and mineral dust into the air you breathe? If you want cleaner mist and better indoor air quality, learning how to wash humidifier parts the right way is essential. Regular cleaning also helps your appliance run more efficiently and last longer.
Why It Is Important to Wash a Humidifier
A humidifier adds moisture to dry indoor air, but standing water and leftover minerals can quickly build up inside the tank and base. Without proper cleaning, your machine may produce unpleasant odors, white dust, or even spread contaminants into your room. That is why knowing how to wash humidifier components is just as important as knowing how to use it.
How Often Should You Clean a Humidifier?
For best results, empty the tank daily and rinse it before refilling. A deeper clean should be done at least once a week, especially during heavy use. If you notice slime, scale buildup, or a musty smell, clean it immediately. The more often you use the unit, the more important it is to stay on a regular humidifier cleaning schedule.
What You Need Before You Start
Before washing your humidifier, gather:
- Clean water
- White vinegar
- Soft cloth or sponge
- Small brush or toothbrush
- Dry towel
Always check the owner’s manual first. Some models have filters, ultrasonic plates, or electronic parts that need special care.
Step-by-Step: How to Wash Humidifier Parts
1. Turn Off and Unplug the Unit
Before anything else, switch off the humidifier and unplug it from the wall. Never clean it while it is connected to power. Safety should always come first.
2. Empty the Water Tank
Pour out any remaining water from the tank and base. Do not let old water sit inside, since stagnant moisture can encourage bacteria and mold growth.
3. Disassemble Removable Parts
Take apart the tank, lid, filter, and any removable pieces according to the manufacturer’s instructions. This makes it easier to wash humidifier parts thoroughly and reach hidden buildup.
4. Rinse the Tank and Base
Use warm water to rinse the tank and base. Swirl the water around to loosen any debris. Avoid using hot water unless the manual says it is safe.
5. Clean with Vinegar
Fill the tank with a mixture of equal parts white vinegar and water, then let it sit for 20 to 30 minutes. Vinegar helps break down mineral deposits and scale. Use the same solution to wipe the base, but be careful around electrical components.
6. Scrub Gently
Use a soft brush or sponge to clean corners, seams, and narrow openings. Focus on areas with visible buildup. Never use abrasive pads, since they can scratch the surface and damage the humidifier.
7. Rinse Thoroughly
After cleaning, rinse every part several times with clean water to remove all vinegar residue. This step is important because leftover cleaning solution can affect the way the humidifier works.
8. Dry Completely
Use a clean towel to dry the pieces, then let them air dry fully before reassembling. Moisture left behind can lead to mold growth, so do not skip this step.
Tips to Keep Your Humidifier Cleaner Longer
Use distilled water whenever possible to reduce mineral buildup and white dust. Empty the tank every day, even if you plan to refill it later. Replace filters as recommended, and store the unit dry when it is not in use. These habits make humidifier maintenance much easier.
When to Replace Your Humidifier
If your humidifier still smells bad after cleaning, has cracked parts, or no longer produces mist properly, it may be time for a replacement. A well-maintained unit can last longer, but worn-out appliances are harder to keep sanitary.
Final Thoughts
Now that you know how to wash humidifier parts step by step, you can keep your appliance clean, efficient, and safer for everyday use. A few minutes of regular cleaning can make a big difference in air quality and overall performance.

