
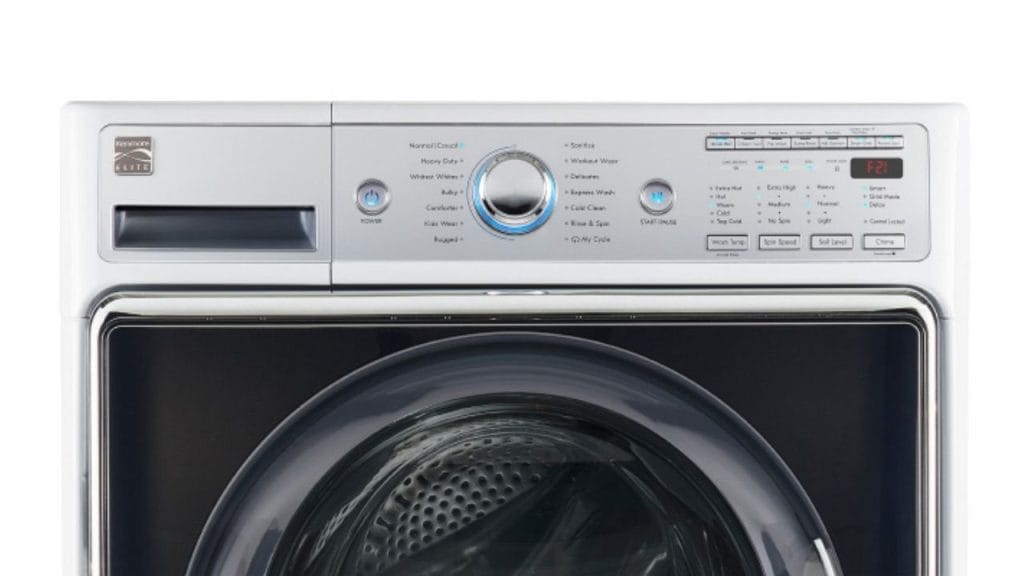
Have you ever wondered why a Kenmore washer stops spinning, draining, or agitating even though it still powers on? Learning how to take apart a Kenmore washing machine can help you inspect common problem areas, clean internal components, and replace worn parts without calling a technician right away.
Before You Start
Before you begin disassembly, unplug the washing machine and turn off the water supply. If your Kenmore model is a top load washer, you will usually remove the cabinet or outer shell to access the internal parts. For front load models, you may need to remove the top panel, front panel, and door boot assembly. Always keep screws and clips organized so reassembly is easier.
Gather basic tools such as a screwdriver set, nut driver, putty knife, pliers, and a towel for any leftover water. If you plan to remove heavy components, work with a second person when possible.
How to Take Apart a Kenmore Washing Machine
1. Unplug and Drain the Washer
Start by unplugging the machine from the wall outlet. Shut off both water valves and disconnect the hoses if needed. If there is standing water inside, drain it manually or use the washer’s drain cycle before proceeding.
2. Remove the Top or Control Panel
On many Kenmore washers, the control panel must be lifted or unscrewed first. Some models have end caps hiding screws, while others use spring clips. Remove the screws and gently tilt the panel back or detach it to expose the top portion of the cabinet.
3. Take Off the Cabinet or Front Panel
For top load washers, insert a putty knife under the front edge of the top panel to release the retaining clips. Lift the top and remove the cabinet screws if your model has them. For front load washers, remove the front panel screws and carefully pull the panel away after disconnecting any door lock harnesses.
4. Disconnect Internal Wiring and Hoses
As you expose the inside of the washer, look for electrical connectors attached to the lid switch, motor, pump, or door lock. Gently unplug each one. If a hose blocks access to a component, use pliers to loosen the clamp and remove it carefully.
5. Remove the Agitator, Drum, or Motor Parts
If you need access to the transmission or drive system, remove the agitator by taking out the center cap and bolt. In front load machines, you may need to remove the drum components or front support assembly. To inspect the motor, remove the mounting bolts and drive belt if present.
6. Access the Pump, Belt, or Suspension System
Kenmore washer repair often involves checking the drain pump, drive belt, suspension springs, or shock absorbers. Remove the fasteners holding these parts in place and inspect them for cracks, wear, clogs, or leaks. If you are troubleshooting a noisy washer, pay special attention to loose pulleys and damaged bearings.
Tips for Safe Disassembly
Take photos at each step so you can remember where parts and wires go. Never force a panel if it does not move easily, since hidden screws may still be attached. If your washer has a digital control board, handle it carefully to avoid static damage.
When to Stop and Call a Pro
If you find damaged wiring, a burned motor, or a broken tub support, it may be better to contact a qualified appliance repair technician. Complex Kenmore washer disassembly can become difficult if the tub assembly or transmission must be removed.
Conclusion
Knowing how to take apart a Kenmore washing machine makes it easier to diagnose leaks, drainage issues, vibration problems, and starting failures. With the right tools, patience, and safety precautions, you can open the machine and inspect key components step by step.


