
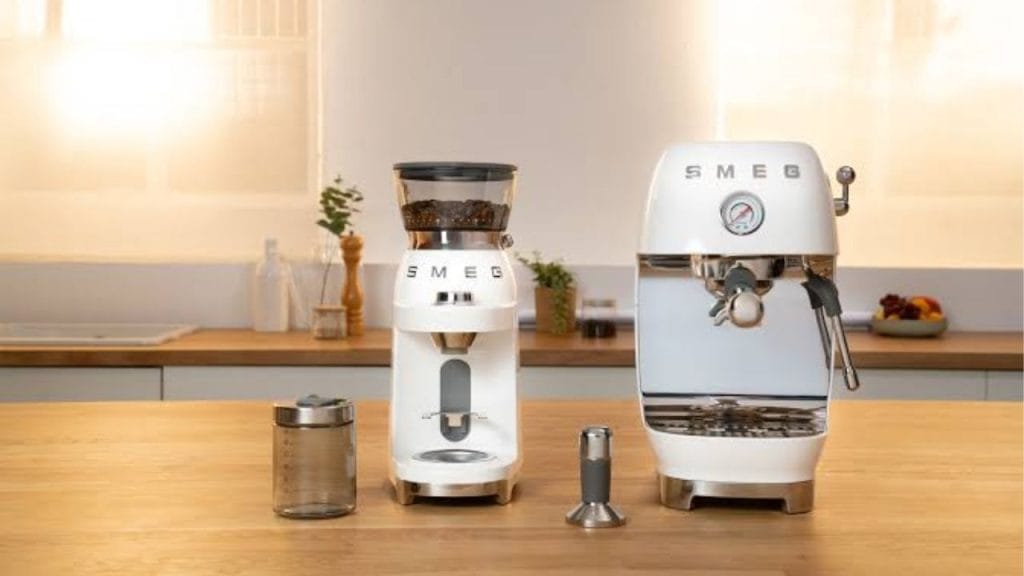
Have you ever wished your coffee maker could have your morning coffee ready the moment you wake up? Learning how to set timer on Smeg coffee maker can make that happen in just a few simple steps. Whether you own a Smeg drip coffee machine or a model with an auto start function, setting the clock and programmable timer correctly helps you enjoy fresh coffee on your schedule.
Why Use the Timer on a Smeg Coffee Maker
A timer is one of the most useful features on a Smeg coffee maker because it lets you wake up to brewed coffee without waiting. This is especially helpful for busy mornings, early workdays, or anyone who wants a smoother daily routine. If you have been searching for how to set timer on smeg coffee maker, the process is usually straightforward once you know where the controls are and how the display works.
Before You Start
Before you program the timer, make sure your Smeg coffee maker is plugged in and the clock is set correctly. Many users miss this step and the delayed brew feature will not work as expected. Also, confirm that the water reservoir is filled, the coffee filter is in place, and ground coffee has been added.
Check Your Model
Different Smeg coffee maker models may have slightly different button layouts. Some use a digital display with a set clock and auto start button, while others have a simple control panel with programming icons. If your model has a manual in the box, keep it nearby for reference.
Set Up the Machine Properly
- Fill the water tank with fresh water.
- Add your coffee grounds to the filter basket.
- Place the carafe on the warming plate.
- Plug in the machine and turn it on if required by your model.
How to Set Timer on Smeg Coffee Maker
Once your coffee maker is ready, you can program the timer. The exact button names may vary, but the general steps are similar across most Smeg drip coffee makers.
Step 1: Set the Current Time
Press and hold the clock or time button until the display starts flashing. Use the hour and minute buttons to adjust the current time. Some models may require you to press a program or set button first. When the correct time appears, press the clock button again to save it.
Step 2: Enter the Auto Brew Time
To schedule brewing, press the timer, program, or auto start button. The display should flash a second time or show a separate programmed time. Use the hour and minute buttons to choose the time you want brewing to begin.
Step 3: Confirm the Timer
Press the program or timer button again to lock in the setting. A small indicator light, icon, or digital symbol should appear on the display. This means the delayed brew function is active.
Step 4: Leave the Machine Ready
Make sure the carafe is in place and the water and coffee grounds are loaded before the programmed time arrives. If the machine is not prepared, the timer may still activate but it will not brew properly.
Common Issues When Setting the Timer
If the timer does not seem to work, check a few common problems. First, confirm that the clock is set correctly. If the display is blinking, the machine may not have saved the time. Second, make sure the auto brew function is actually activated. Third, power interruptions can reset the clock on some Smeg coffee makers, so you may need to set it again.
Tips for Better Scheduled Coffee Brewing
Use freshly ground coffee for the best flavor, and do not leave water in the reservoir for long periods. Clean the filter basket and carafe regularly to prevent buildup. If your Smeg coffee machine has an aroma setting or brew strength feature, adjust it before programming the timer so your coffee starts exactly how you like it.
Final Thoughts
Now you know how to set timer on smeg coffee maker and use the delayed brew feature with confidence. Once the clock is set and the timer is programmed, your machine can help simplify busy mornings and deliver coffee right when you want it.


