
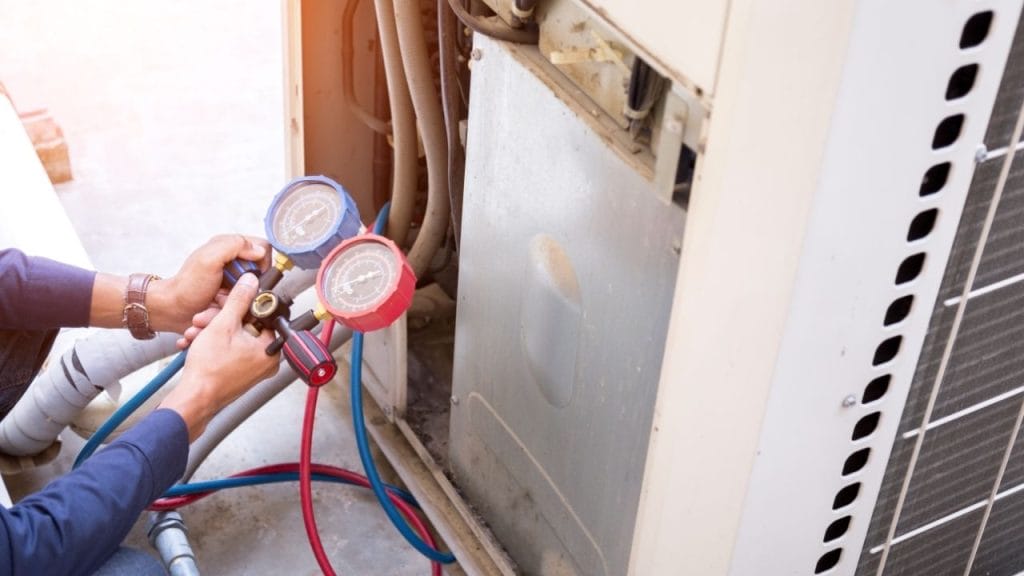
Have you ever wondered why your air conditioner is not cooling as efficiently as it should, even after a filter change and a quick inspection? Learning how to use air conditioner gauges can help you understand your AC system’s pressure levels, spot possible refrigerant problems, and know when it is time to call a professional.
What Are Air Conditioner Gauges?
Air conditioner gauges are diagnostic tools used to measure the pressure inside an HVAC system. They are commonly connected to the service ports on an AC unit through a manifold gauge set. For beginners, these gauges help determine whether the system is operating within a normal range or showing signs of low refrigerant, overcharging, or another issue.
If you are searching for how to use air conditioner gauges, the first step is to understand that the low-side gauge and high-side gauge serve different purposes. The low side measures suction pressure, while the high side measures discharge pressure. Together, they give you a clearer picture of system performance.
Before You Start: Safety First
Before using refrigerant gauges, turn off the air conditioner and wear safety glasses and gloves. Make sure you are working with the correct refrigerant type, such as R-410A or R-22, because gauges and pressure readings vary by system. Always check the manufacturer’s specifications before attaching anything to the unit.
It is also important to remember that refrigerant handling may require certification in many areas. If you are not trained or licensed, you should avoid adding refrigerant and focus only on basic pressure checks.
How to Use Air Conditioner Gauges Step by Step
1. Identify the service ports
Locate the low-pressure service port on the larger suction line and the high-pressure service port on the smaller liquid line. Most beginner checks only involve the low side, but both ports are used for a full diagnostic reading.
2. Connect the gauge set
Attach the blue hose to the low side port and the red hose to the high side port. Ensure the connections are secure to prevent leaks. The yellow hose is typically used for charging or recovery equipment, and beginners can leave it disconnected for pressure testing.
3. Start the system
Turn the AC on and let it run for about 10 to 15 minutes so pressures stabilize. Set the thermostat to a cool setting and make sure the indoor blower and outdoor condenser are operating normally.
4. Read the pressure gauges
Check the pressure numbers on the manifold gauges and compare them to the expected range for your specific refrigerant and outdoor temperature. Low suction pressure may indicate low refrigerant, a restriction, or airflow problems. High discharge pressure may point to overcharging, dirty coils, or poor ventilation.
5. Look for signs beyond pressure
Gauge readings alone do not tell the whole story. Inspect the air filter, evaporator coil, condenser coil, and refrigerant lines. Ice buildup, weak airflow, or unusual noises can support what the gauges are showing.
Common Mistakes to Avoid
One of the biggest mistakes beginners make is assuming low pressure always means low refrigerant. In reality, dirty coils, blocked airflow, or a failing component can cause similar symptoms. Another common mistake is reading the gauges without knowing the refrigerant type or outdoor temperature, which can lead to inaccurate conclusions.
When to Call a Professional
If you see abnormal pressures, ice on the lines, or the system is still not cooling after basic maintenance, contact a licensed HVAC technician. A professional can safely diagnose refrigerant issues, check for leaks, and make repairs that require special tools and training.
Final Thoughts
Understanding how to use air conditioner gauges gives homeowners a better way to monitor AC performance and identify problems early. While beginner gauge checks can help you spot obvious issues, they should be used as a starting point, not a replacement for professional HVAC service when needed.


