
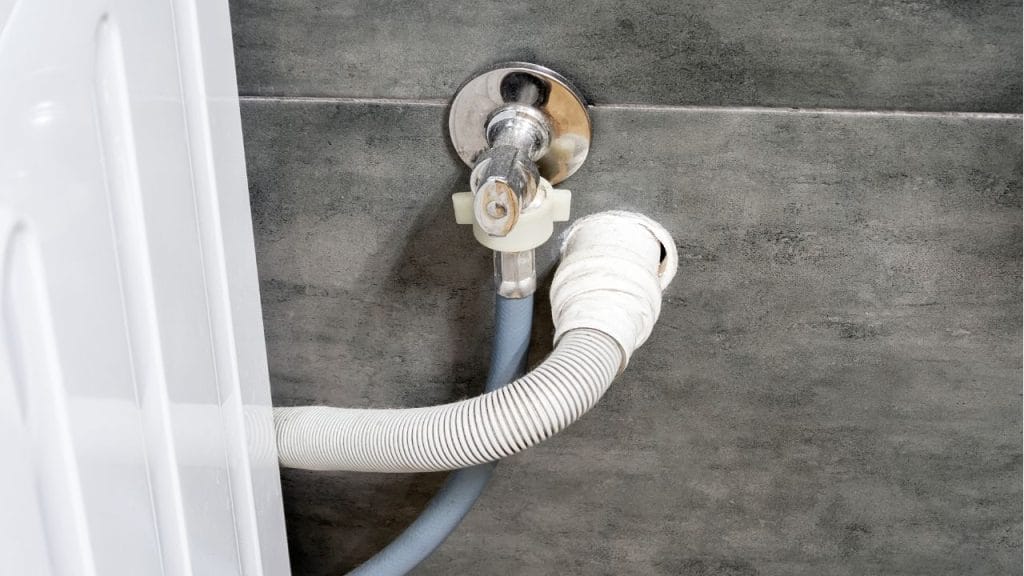
Have you ever noticed water pooling behind your washer after a cycle? A leaking drain hose can turn a simple laundry day into a messy cleanup, but the good news is that learning how to seal a washing machine drain hose is usually a quick, affordable fix.
A properly sealed drain hose helps prevent leaks, water damage, mold growth, and unpleasant odors. Whether your hose is loose, cracked, or not fitting tightly at the standpipe, this step-by-step guide will help you fix the problem and keep your washing machine running smoothly.
Why a Washing Machine Drain Hose Leaks
Before you seal the hose, it helps to understand the cause of the leak. Common reasons include:
- A loose hose connection
- A worn or cracked hose
- A damaged rubber gasket or clamp
- Poor fit at the drain pipe or standpipe
- Excess vibration from the washer during spin cycles
If you catch the issue early, you may only need a simple hose seal or clamp adjustment instead of a full replacement.
Tools and Materials You May Need
To seal a washing machine drain hose, gather these items:
- Adjustable pliers
- Screwdriver
- Hose clamp
- Rubber washer or gasket
- Waterproof plumber’s tape
- Silicone sealant
- Clean cloth or towel
- Replacement drain hose, if needed
Make sure the washer is unplugged and the water supply is turned off before starting.
Step 1: Inspect the Hose and Connection
Pull the washer slightly away from the wall so you can see the drain hose clearly. Check the entire hose for cracks, holes, or splits. Look closely at the connection where the hose meets the washer and where it enters the drain pipe.
If the hose is visibly damaged, sealing it may be a temporary solution. In that case, replacing the hose is the safer long-term fix.
Step 2: Tighten the Hose Connection
If the leak is coming from the connection point, use pliers or a screwdriver to tighten the clamp. The hose should fit snugly, but do not overtighten it. Too much pressure can damage the hose and make the leak worse.
If the hose has slipped out of place, push it firmly back onto the fitting before tightening the clamp again.
Step 3: Apply Waterproof Sealant or Plumber’s Tape
For small gaps or minor seepage, you can use waterproof plumber’s tape around threaded fittings or a small amount of silicone sealant around the outer edge of the connection.
Be careful not to apply sealant inside the hose opening, since that can restrict water flow and cause drainage problems. Allow the sealant to cure according to the manufacturer’s instructions before running a test cycle.
Step 4: Replace Worn Gaskets or Clamps
A worn gasket is one of the most common reasons a washing machine drain hose leaks. If the rubber washer looks cracked, flattened, or brittle, replace it with a new one that matches the hose size.
Also inspect the hose clamp. If it is rusty, loose, or bent out of shape, install a new clamp for a tighter and more reliable seal.
Step 5: Test for Leaks
Once everything is secured, plug the washer back in and run a short rinse or drain cycle. Watch the connection closely while the machine drains. If you see dripping, tighten the clamp slightly or recheck the seal.
Place a dry towel under the hose area to make spotting leaks easier.
When to Replace the Drain Hose
If the hose is old, cracked, or has repeated leaks, sealing it may only be a short-term fix. Replacing the entire drain hose is often the best solution for older appliances or hoses that have become brittle over time.
A new hose is usually inexpensive and can save you from future water damage and repair costs.
Final Tips for a Secure Seal
To keep your washing machine drain hose sealed properly:
- Check connections every few months
- Avoid kinking or bending the hose
- Keep the washer level to reduce vibration
- Replace worn parts as soon as you notice damage
Knowing how to seal a washing machine drain hose can save time, money, and frustration. With the right tools and a careful inspection, you can stop leaks quickly and keep your laundry area dry and safe.


