
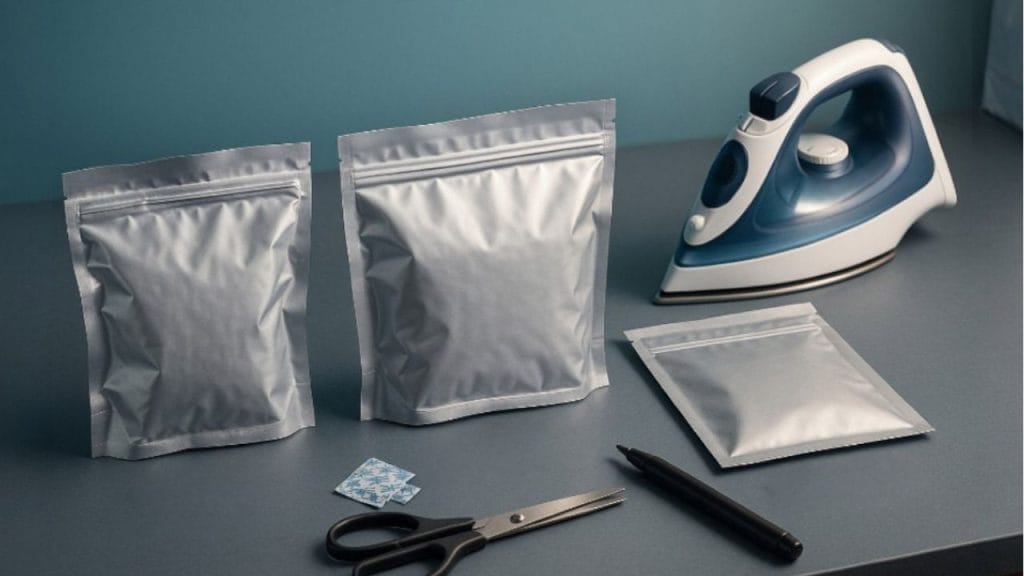
Ever wondered why so many people use Mylar bags for long-term food storage? When sealed correctly, these bags help protect dry goods from oxygen, moisture, and light. If you do not have a dedicated heat sealer, you can still get a tight, reliable seal using a regular clothes iron. In this guide, you will learn how to seal Mylar bags with clothes iron step by step, plus a few helpful tips to get the best results.
What You Need Before You Start
Before sealing, gather the right supplies so the process goes smoothly. You will need:
Basic Supplies
- Mylar bags
- Dry food or storage items
- A clothes iron
- A flat heat-safe surface, such as an ironing board or countertop with a towel
- A straight edge or ruler
- Oxygen absorbers, if storing food long term
Make sure your iron has adjustable heat settings. A standard household iron works well for most Mylar bag sealing projects.
How to Seal Mylar Bags with Clothes Iron
Step 1: Fill the Mylar Bag
Add your dry food or items to the bag, leaving about 3 to 4 inches of space at the top. This extra space gives you room to seal the bag properly. If you are using oxygen absorbers, place them inside right before sealing.
Step 2: Flatten the Top of the Bag
Press out as much air as possible from the top portion of the bag. Lay the open edge flat and smooth it with your hands. A clean, even edge helps create a stronger seal with the iron.
Step 3: Set the Iron to the Right Temperature
Turn your clothes iron to a medium or medium-high heat setting. Do not use steam. Steam can interfere with the seal and add unwanted moisture. Let the iron fully heat up before you begin.
Step 4: Create the Seal
Place the open top of the Mylar bag between two flat surfaces if needed, such as a folded towel and a ruler, to keep it straight. Then slowly press the hot iron along the edge of the bag for a few seconds at a time.
Move the iron steadily across the top opening to seal the bag completely. You should see the Mylar edges fuse together. Do not press too long in one spot, or you may melt the bag.
Step 5: Check the Seal
After the bag cools for a few seconds, gently tug on the sealed edge. A proper seal should feel firm and closed all the way across. If you notice any gaps, reheat the weak area with the iron and seal it again.
Tips for a Better Mylar Bag Seal
For the best results, keep these tips in mind:
Use a Clean Bag Edge
Any food particles or wrinkles near the opening can prevent a tight seal. Always wipe and flatten the top before sealing.
Test on an Empty Bag First
If this is your first time learning how to seal Mylar bags with clothes iron, practice on an empty bag. This helps you find the right heat setting and sealing speed.
Double Seal for Extra Protection
For long-term food storage, you can make a second seal about half an inch above the first one. This gives added security against leaks.
Common Mistakes to Avoid
Do not use steam, because moisture can weaken the seal. Avoid overheating, since too much heat can burn or warp the Mylar. Also, never seal a bag that is too full, because you need enough space for the iron to create a strong bond.
Final Thoughts
Learning how to seal Mylar bags with clothes iron is simple, affordable, and effective for home storage. With the right temperature, a clean edge, and a steady hand, you can create a strong seal that helps protect your food and supplies for the long term. If you do not have a heat sealer, your household iron can be a reliable backup tool for sealing Mylar bags at home.


