
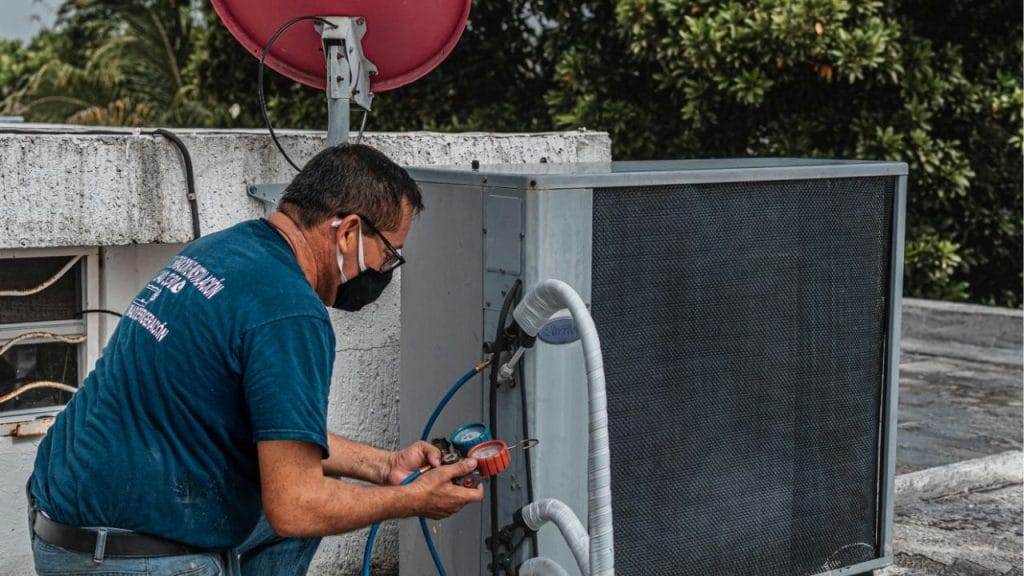
Ever wondered why your air conditioner suddenly stops cooling on a hot summer day? One of the most common causes is a blown fuse. Learning how to test air conditioner fuses can help you quickly diagnose the issue, avoid unnecessary repair costs, and get your system running again faster.
Why Air Conditioner Fuses Matter
Air conditioner fuses protect your HVAC system from electrical overloads. When too much current flows through the circuit, the fuse breaks the connection to prevent damage to the unit and other components. If an AC fuse blows, your system may stop working entirely or only partially function.
Knowing how to test air conditioner fuses is useful whether you have a central air conditioner, a window AC unit, or a packaged HVAC system. With the right tools and a little care, you can check whether the fuse is the real problem before calling a technician.
Signs of a Blown AC Fuse
Before you test the fuse, look for common warning signs. These may include:
- The air conditioner will not turn on
- Warm air blows instead of cold air
- The outdoor unit is unresponsive
- The breaker keeps tripping
- You notice a burning smell near the electrical panel or disconnect box
These symptoms do not always mean the fuse is bad, but they are strong indicators that a fuse inspection is necessary.
Tools You Need
To test air conditioner fuses safely, gather:
- A multimeter
- Screwdriver
- Replacement fuses with the correct rating
- Safety gloves and safety glasses
Always turn off power to the AC unit before opening any electrical compartment. If you are unsure about working with electrical parts, contact a licensed HVAC professional.
How to Test Air Conditioner Fuses
Step 1: Turn Off Power
Shut off power to the air conditioner at the thermostat, breaker box, and disconnect switch. This is the most important safety step before you inspect or test any HVAC fuse.
Step 2: Locate the Fuse
Air conditioner fuses are usually found in the outdoor disconnect box or inside the unit’s electrical panel. Remove the access cover carefully with a screwdriver.
Step 3: Remove the Fuse
Once you find the fuse, take note of its type and amperage rating. Gently remove it from the holder. Be careful not to damage the fuse or surrounding wiring.
Step 4: Inspect the Fuse Visually
Look at the fuse closely. A blown fuse may show a broken metal strip, blackened glass, or burn marks. Some fuses look damaged, while others may appear normal even when they are faulty.
Step 5: Test the Fuse with a Multimeter
Set your multimeter to continuity mode or the lowest ohms setting. Place one probe on each end of the fuse.
If the multimeter beeps or shows very low resistance, the fuse is likely good. If there is no beep or the display shows infinite resistance, the fuse is blown and needs replacement.
Step 6: Replace the Fuse if Needed
If the fuse is bad, replace it with an exact match in voltage and amperage. Using the wrong fuse can damage your air conditioner or create a safety hazard.
What to Do If the New Fuse Blows Again
If the replacement fuse blows right away, the problem may be deeper than the fuse itself. Possible causes include a shorted compressor, dirty condenser coils, damaged wiring, or a failing capacitor. In this case, further troubleshooting or professional HVAC repair is needed.
Final Tips
When learning how to test air conditioner fuses, always focus on safety and accuracy. A simple multimeter test can save time and help you identify whether a fuse replacement will solve the issue. If your AC keeps blowing fuses or you are not comfortable handling electrical components, call a qualified HVAC technician for help.


