
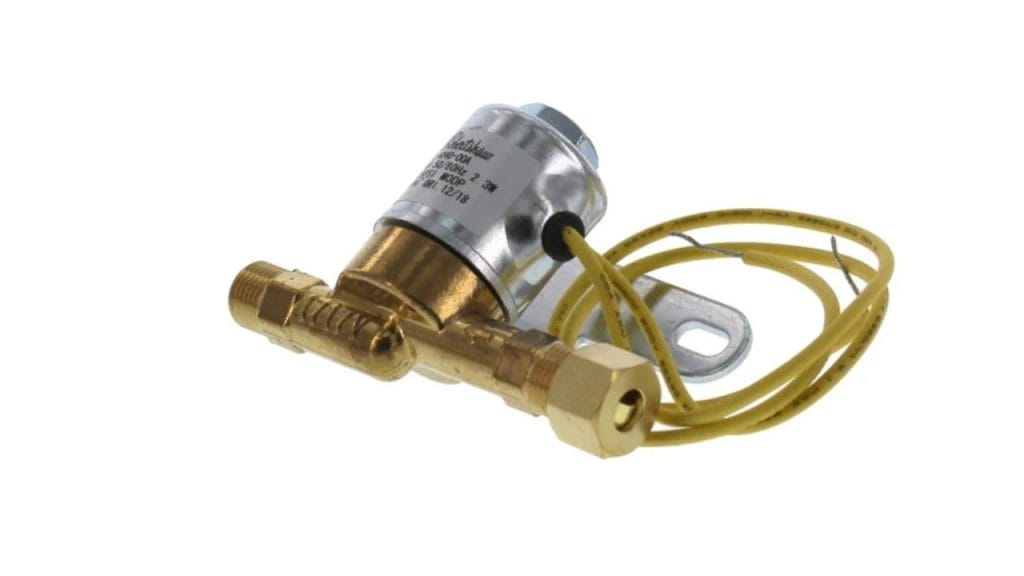
Have you ever noticed your humidifier running but not producing enough moisture? If so, the problem may be the solenoid valve. Learning how to test humidifier solenoid can help you quickly determine whether the valve is the cause of poor performance, no water flow, or inconsistent humidity control. In many cases, a simple test with a multimeter and a few basic checks can save you time and money before calling for repair.
What Is a Humidifier Solenoid?
A humidifier solenoid is an electrically controlled valve that opens and closes to allow water into the humidifier. When the thermostat or humidistat sends a signal, the solenoid activates and lets water flow to the unit. If it fails, your humidifier may not get water, which means it cannot add moisture to the air.
Signs of a Bad Humidifier Solenoid
Before you test humidifier solenoid parts, look for common symptoms. A faulty solenoid often causes:
- No water entering the humidifier
- Weak water flow
- Clicking sounds without water movement
- Dry filter or evaporator pad
- Humidifier turning on but not moisturizing the air
If you notice these issues, a solenoid valve test is a smart next step.
Tools You Will Need
To test a humidifier solenoid, gather these tools:
- Multimeter
- Screwdriver
- Pliers
- Towels or a small container
- Safety gloves
Always turn off power to the furnace or humidifier before starting. If your unit is connected to a water line, shut off the water supply too.
How to Test Humidifier Solenoid
Step 1: Inspect the Solenoid Visually
Start with a basic visual inspection. Look for loose wires, corrosion, mineral buildup, or cracked tubing. A clogged valve may look fine electrically but still block water flow. If the solenoid appears damaged, replacement may be necessary.
Step 2: Check the Wiring
Make sure the wires connected to the solenoid are secure. Loose or damaged wires can interrupt the electrical signal and make the valve seem defective. If you spot frayed insulation or burnt terminals, repair them before continuing.
Step 3: Test for Voltage
Turn the humidifier on and set the humidistat to call for humidity. Use a multimeter to test whether voltage is reaching the solenoid terminals. If you do not get a voltage reading, the problem may be in the humidistat, transformer, control board, or wiring instead of the solenoid itself.
Step 4: Measure the Solenoid Coil Resistance
With power off, disconnect the solenoid wires and set your multimeter to ohms. Place the probes on the solenoid terminals. A healthy coil should show resistance within the manufacturer’s range. If the meter shows infinite resistance, the coil is open. If it shows very low resistance, the coil may be shorted. Either result usually means the solenoid needs replacement.
Step 5: Check for Physical Operation
If the coil test passes, confirm whether the valve opens when energized. Some solenoids will click when activated. If you hear clicking but no water flows, the valve may be stuck, clogged, or mechanically failed. Sediment buildup is common in hard water areas.
What to Do if the Solenoid Is Bad
If your humidifier solenoid test confirms failure, replace the valve with an exact or compatible model. Be sure to match voltage, flow rate, and connection type. After installation, restore water and power, then run the humidifier to verify normal operation.
Final Tips
Knowing how to test humidifier solenoid components makes troubleshooting much easier. Start with the power supply, then use a multimeter to test voltage and coil resistance. In many cases, the issue is either a bad solenoid valve or a wiring problem. A careful step-by-step approach helps you restore proper humidifier performance and maintain comfortable indoor air quality.


