
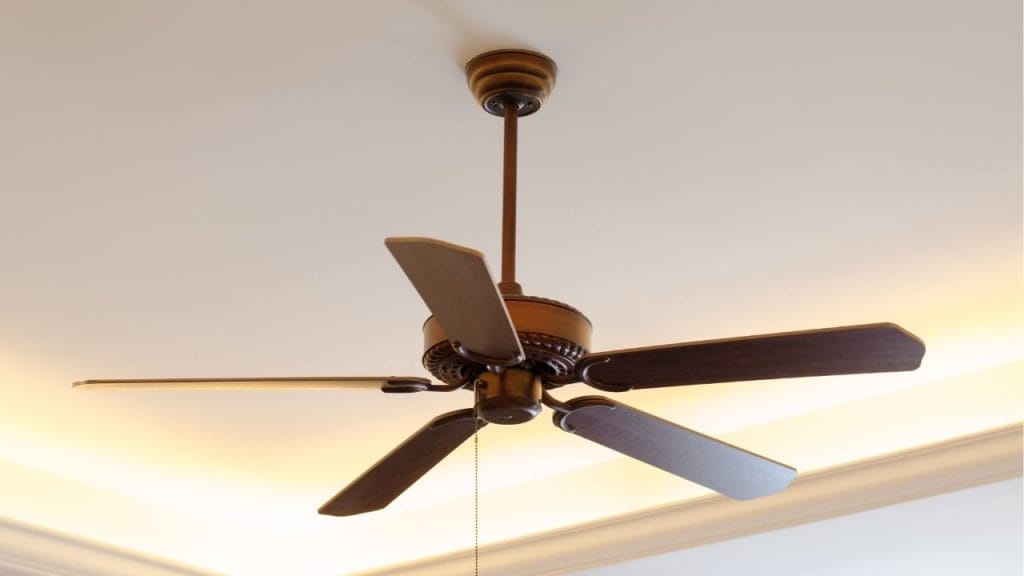
Have you noticed your ceiling fan wobbling, rattling, or making an annoying clicking sound every time it runs? If so, it may be time to learn how to tighten ceiling fan components before the problem gets worse. A loose ceiling fan is more than a nuisance. It can reduce airflow, wear out the motor, and create a safety risk if ignored. The good news is that most ceiling fan tightening jobs are simple and can be done with basic tools.
Why a Ceiling Fan Gets Loose
Over time, normal vibration can loosen screws, blade brackets, mounting hardware, and canopy parts. Dust buildup, improper installation, and years of use can also contribute to a shaky fan. If you hear noise or see the blades wobbling, do not wait. Tightening the right parts can often solve the issue quickly.
Tools You May Need
Before you start, gather a few common tools:
Basic Tools
- A stepladder
- Screwdriver
- Allen wrench, if your fan uses one
- Flashlight
- Soft cloth or dusting tool
Safety Tip
Turn off the fan and switch off the power at the wall before inspecting it. For added safety, shut off the circuit breaker as well.
How to Tighten Ceiling Fan Step by Step
1. Turn Off Power
Always begin by turning off the fan at the switch and breaker. This keeps the fan from accidentally starting while you work.
2. Check the Fan Blades
Loose blades are one of the most common causes of wobbling. Examine each blade and tighten the screws that connect the blades to the blade arms. Also check where the blade arms attach to the motor housing.
If one blade is bent, warped, or damaged, tightening alone may not fix the problem. Replace any warped blades for a smoother spin.
3. Tighten the Blade Brackets
Blade brackets can loosen over time and cause the fan to shake. Use a screwdriver to tighten each bracket screw evenly. Do not overtighten, since that can strip the threads or crack the bracket.
4. Inspect the Light Kit
If your ceiling fan has a light fixture, check the screws holding the light kit in place. A loose light kit can create rattling sounds that seem like a fan problem. Tighten the screws and make sure the glass globe or shade is secure.
5. Secure the Canopy
The canopy is the decorative cover where the fan meets the ceiling. If it is loose, it can vibrate or make noise. Hold the canopy steady and tighten the screws or trim ring that keeps it in place.
6. Check the Mounting Bracket
A loose mounting bracket can cause serious wobbling. Carefully lower the canopy if needed and inspect the bracket attached to the ceiling box. Tighten all accessible screws. If the fan was installed on a standard electrical box that is not rated for ceiling fans, the entire fixture may need professional correction.
7. Tighten the Downrod
If your fan has a downrod, make sure the set screw and locking pin are secure. A loose downrod can cause excessive movement and noise. Tighten it according to the manufacturer’s instructions.
How to Know if the Ceiling Fan Is Balanced
After you tighten ceiling fan parts, turn the power back on and test it at low speed first. If it still wobbles, the blades may be out of balance. You can try swapping blade positions, cleaning the blades, or using a ceiling fan balancing kit.
When to Call a Professional
If the fan is still noisy after tightening, or if you see electrical issues, a damaged mounting bracket, or a cracked ceiling box, call a licensed electrician. Knowing how to tighten ceiling fan parts is helpful, but some problems require expert repair.
Final Thoughts
Learning how to tighten ceiling fan components is one of the easiest ways to stop wobbling, reduce noise, and improve performance. With a few tools and a careful step-by-step approach, you can often fix a loose ceiling fan in less than an hour. Regular maintenance helps keep your fan running safely and smoothly for years.


