
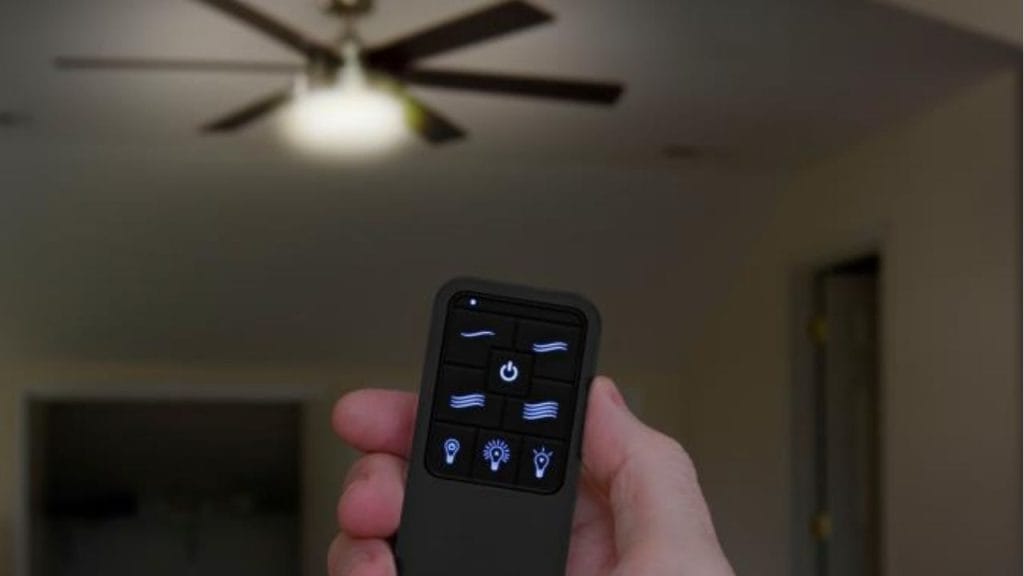
Ever wondered why your ceiling fan remote suddenly stops working when all you need is a little airflow? Learning how to sync ceiling fan remote systems is easier than most homeowners think, and in many cases, you can fix the issue in just a few minutes.
What Does It Mean to Sync a Ceiling Fan Remote?
When people search for how to sync ceiling fan remote controls, they usually mean pairing the handheld remote with the fan’s receiver so both communicate correctly. This can happen after a power outage, battery replacement, remote replacement, or when the fan stops responding.
Different brands may call this process pairing, linking, programming, or syncing. No matter the term, the goal is the same: getting the remote and ceiling fan back in sync.
Before You Start: Check the Basics
Before you try to sync a ceiling fan remote, make sure the problem is not something simple.
Replace the Remote Batteries
Weak or dead batteries are one of the most common reasons a remote fails. Install fresh batteries and confirm they are placed in the correct direction.
Confirm the Fan Has Power
Check the wall switch, circuit breaker, and any fan pull chain. If the fan is not getting power, the remote will not work.
Look for a Wall Remote Switch
Some ceiling fans have a wall-mounted control or switch that may need to stay on for the remote to function.
How to Sync Ceiling Fan Remote Step by Step
While exact steps vary by brand, most ceiling fan remotes follow a similar pairing process.
Step 1: Turn Off the Fan Power
Switch off power to the fan at the wall or breaker box. Wait about 10 to 30 seconds to reset the receiver.
Step 2: Restore Power
Turn the power back on. Some fans will beep, blink, or make a brief motion when they receive power.
Step 3: Press the Sync or Pair Button
Open the remote battery compartment or front cover and look for a small button labeled Learn, Sync, Pair, or Program.
Press and hold the button for 3 to 5 seconds, or until the fan light blinks or the fan responds. This tells you the remote and receiver are connected.
Step 4: Test the Remote
Try the fan speed buttons, light button, and reverse function if available. If the fan responds correctly, the sync process worked.
How to Sync Ceiling Fan Remote Without a Sync Button
Some older or simpler remotes do not have a visible pairing button. In that case, the fan may use dip switches.
Check the Dip Switch Settings
Remove the remote battery cover and inspect the small switch pattern. Then check the receiver inside the fan housing. The switch pattern on both must match exactly.
If they do not match, adjust the switches so both remote and receiver are identical, then restore power and test the fan again.
Troubleshooting If the Remote Still Does Not Work
If you followed the steps for how to sync ceiling fan remote controls and the fan still fails to respond, try these fixes:
Reset the Fan Again
Turn the power off for a full minute, then retry the syncing process.
Check for Receiver Damage
A faulty receiver inside the fan canopy may need replacement if the remote signal is not being detected.
Verify Compatibility
Not every remote works with every ceiling fan. Make sure the replacement remote is compatible with your fan brand and model.
Reprogram After a Power Surge
A power outage or surge can erase the remote connection. Repeating the pairing steps usually solves the problem.
Tips to Keep Your Ceiling Fan Remote Working
Keep spare batteries on hand, avoid dropping the remote, and make sure the wall switch stays on. If you replace the remote, choose the same brand or a universal ceiling fan remote that supports your fan model.
Final Thoughts
Knowing how to sync ceiling fan remote controls can save you time, money, and frustration. In most cases, the fix is as simple as resetting power, pressing the pair button, or matching dip switches. If the remote still does not work after troubleshooting, the receiver or remote may need replacement.


