
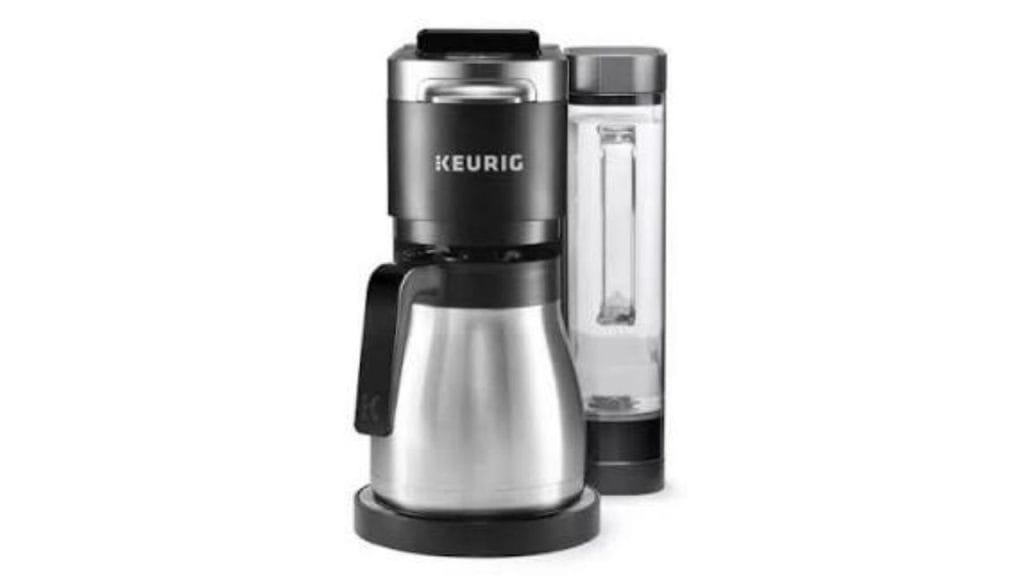
Have you ever wondered why your Keurig coffee maker starts brewing slower, making strange noises, or leaking water? In many cases, a careful cleaning or internal inspection can help restore performance. If you are searching for how to take apart a Keurig coffee maker, this step-by-step guide will walk you through the process safely and clearly.
Why You May Need to Disassemble a Keurig
Keurig machines can build up mineral deposits, coffee residue, and trapped debris over time. Taking the brewer apart may help you reach hidden areas for deep cleaning, troubleshooting, or replacing worn parts. Before you begin, make sure your model is unplugged and completely cool.
What You Will Need
Before learning how to take apart a Keurig coffee maker, gather a few simple tools:
- Phillips screwdriver
- Flathead screwdriver or plastic pry tool
- Soft cloth
- Bowl or tray for screws
- Warm water and mild soap
- White vinegar for cleaning, if needed
Step 1: Unplug and Empty the Machine
Always start by unplugging the brewer from the wall outlet. Remove the water reservoir, drip tray, and K-Cup holder. Pour out any remaining water from the tank and internal parts. This helps prevent spills and protects the electrical components.
Step 2: Remove External Parts
Take off all removable pieces, including:
- Water reservoir
- Lid
- Drip tray
- Drip tray plate
- K-Cup pod holder
- Funnel if your model has one
These parts usually lift or snap out easily. Set them aside for separate cleaning.
Step 3: Open the Top Section
To continue disassembling a Keurig coffee maker, look for visible screws near the top and back of the unit. Some models hide screws under labels, rubber plugs, or side panels. Remove them with a Phillips screwdriver.
After the screws are out, gently use a flathead screwdriver or plastic pry tool to release the top cover. Do not force it. If it resists, check for missed screws or clips.
Step 4: Remove the Outer Shell
Once the top is loose, carefully detach the side panels or rear casing. Most Keurig models use snap tabs along the edges. Work slowly to avoid cracking the plastic. If you are wondering how to take apart a Keurig coffee maker without damage, patience is key here.
Be Careful Around Wiring
Inside the brewer, you may see wires connected to the control panel, heating element, or pump. Avoid pulling on them. If you only need to clean the machine, do not disconnect any wires unless you know how to reassemble them correctly.
Step 5: Clean the Internal Components
Now you can inspect areas that are often hard to reach. Wipe away coffee buildup, dust, and mineral scale. If you notice clogged tubes or valves, use a damp cloth and a small amount of vinegar solution to clean them. Never soak electrical parts.
Step 6: Reassemble the Keurig
After cleaning, let every part dry completely. Reattach the shell, snap the panels back into place, and replace all screws. Put the drip tray, pod holder, funnel, and reservoir back where they belong.
Helpful Tips for Safe Reassembly
- Take photos as you disassemble each step
- Keep screws organized by location
- Make sure all clips are aligned before pressing panels together
- Test the machine with water only before brewing coffee
When to Seek Professional Help
If your Keurig still leaks, fails to heat, or will not power on after you take it apart, the problem may be electrical or related to a damaged pump. In that case, professional repair or replacement may be the better option.
Learning how to take apart a Keurig coffee maker can help you maintain your machine and extend its life. With the right tools and careful steps, you can clean hard-to-reach areas and solve common brewing issues safely.


